Hashicorp Consul 102 - Secure cluster communication using gossip encryption

In previous course (Hashicorp Consul 101), we created a cluster of 5 Consul servers. In this course, we will learn how to secure the communication between all the nodes (Server and clients) of this cluster, also known as gossip.
To better understand how this works in practice, let’s consider a hypothetical scenario with a company named Acme. We will use a docker-compose stack to quickly set up resources without the need of deploying a complete infrastructure. Stack template is available on Github:
 jeremychauvet
Step 1 - Generate an encryption key
Lets start this course by starting our Consul cluster with 5 servers:
# Path: showroom-hashicorp-consul/102_encrypt_gossip_communication/start-state
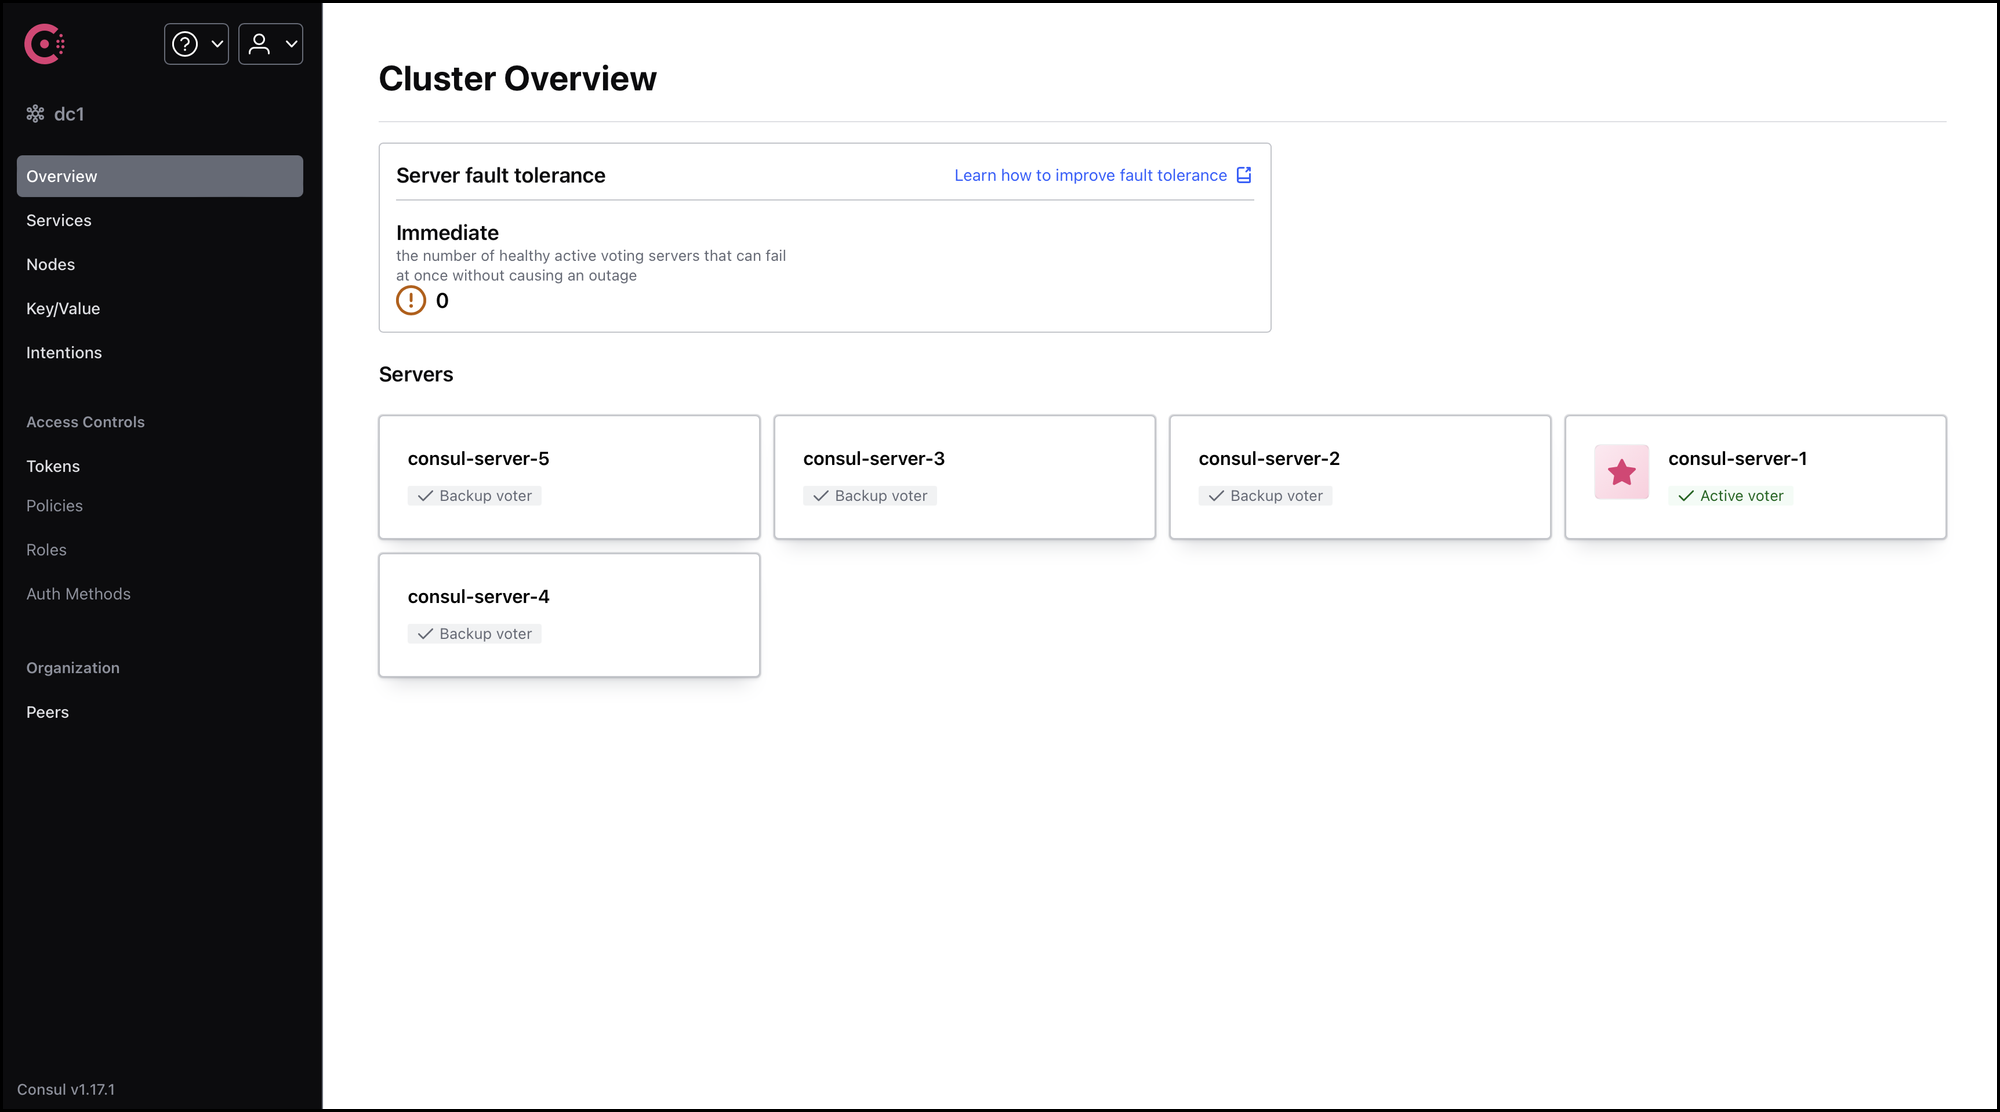
$ docker-compose up -dAccess consul-server-1 console using the following address: http://localhost:8501. All the nodes of the cluster must be displayed:
We will now access consul-server-1 server using the CLI to generate an encryption key. This key will be used to encrypt the communication between all the nodes of the cluster:
# Path: showroom-hashicorp-consul/102_encrypt_gossip_communication/start-state
$ docker-compose exec -it consul-server-1 sh
Once connected, execute the following command to generate an encrypted key:
/ # consul keygen
7Rqzack5azTHV0i6dT0wul8fp92+aWxadgv6S3f1zsc=
Copy this key, we will now change the servers configuration files to use this key.
Step 2 - Gossip communication encryption
First, let's change the configuration file for consul-server-1, by adding 3 new settings:
encrypt: specify the key to use to encrypt the communication. We will use the key generated in step 1 as value:7Rqzack5azTHV0i6dT0wul8fp92+aWxadgv6S3f1zsc=. Please do not use this key, generate your own one.encrypt_verify_incoming: as we setencryptsetting, the node will encrypt the communication. This disable enforcing encryption for incoming gossip, allowing us to safely rollout the key in the cluster.encrypt_verify_outgoing: disable enforcing encryption for outgoing gossip.
Here's the result:
# Path: showroom-hashicorp-consul/102_encrypt_gossip_communication/start-state/config/consul-server-1-config.json
{
  "node_name": "consul-server-1",
  "server": true,
  "bootstrap": true,
  "retry_join": [
    "consul-server-1",
    "consul-server-2",
    "consul-server-3",
    "consul-server-4",
    "consul-server-5"
  ],
  "ui_config": {
    "enabled": true
  },
  "datacenter": "dc1",
  "data_dir": "/consul/data",
  "addresses": {
    "http": "0.0.0.0"
  },
  "encrypt": "7Rqzack5azTHV0i6dT0wul8fp92+aWxadgv6S3f1zsc=",
  "encrypt_verify_incoming": false,
  "encrypt_verify_outgoing": false
}
consul-server-1 configuration is now ready to rollout. Let's restart the Consul agent using docker-compose:
# Path: showroom-hashicorp-consul/102_encrypt_gossip_communication/start-state
$ docker-compose stop consul-server-1
[+] Stopping 1/1
 ✔ Container consul-server-1  Stopped
$ docker-compose up -d consul-server-1
[+] Running 1/1
 ✔ Container consul-server-1  Started
Login to consul-server-1 using the CLI to ensure traffic encryption is activated:
# Path: showroom-hashicorp-consul/102_encrypt_gossip_communication/start-state
$ docker-compose exec -it consul-server-1 sh
/ # consul info
[...]
serf_lan:
        encrypted = true
[...]
Your next step is to update the configurations of the remaining 4 servers, ensuring to include encrypt, encrypt_verify_incoming, and encrypt_verify_outgoing settings, then restart each Consul server using docker-compose, one at the time.
We are now about to enable the traffic encryption verification. To do that, we need to change the setting encrypt_verify_outgoing value to true, using the following procedure:
- Change
encrypt_verify_outgoingsetting onconsul-server-1configuration file (value must be true now). - Restart Consul agent using docker-compose:
docker-compose stop consul-server-1 && docker-compose up -d consul-server-1
Use the same procedure for node 2 to 5. As a final step, we need to perform the same operation for the setting encrypt_verify_incoming using the following procedure:
- Change
encrypt_verify_incomingsetting onconsul-server-1configuration file (value must be true now). - Restart Consul agent using docker-compose:
docker-compose stop consul-server-1 && docker-compose up -d consul-server-1
You have successfully encrypt your cluster communication!
Next step
On the next course, we will learn how to secure Consul agent communication with TLS encryption.

Lenstra helps companies leverage Computer Science to enhance their Economic Performance
Contact us for a free consultancy to explore how we can work together.
Contact us